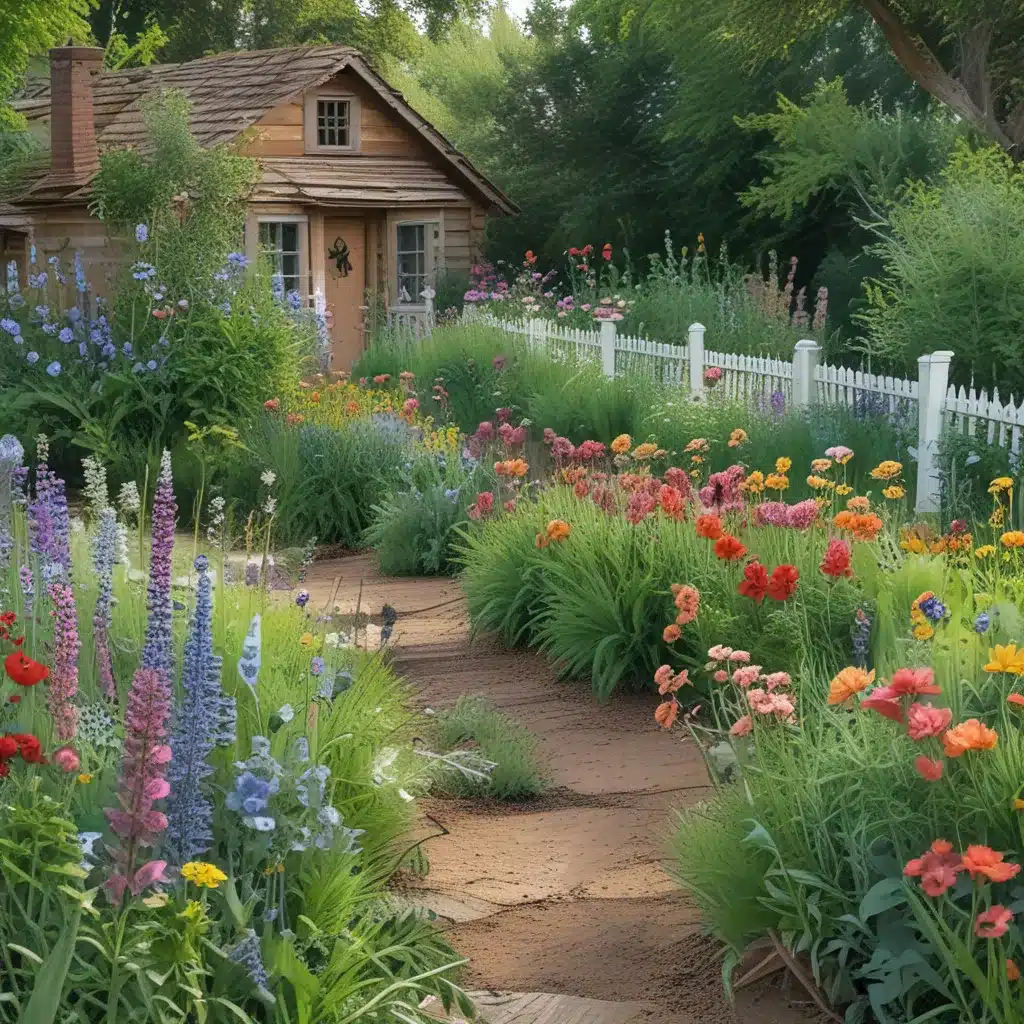
The Joy of a Cutting Garden
Have you ever dreamed of walking into your own garden and snipping the most beautiful blooms for a fresh bouquet? Well, my friends, that dream can become a reality with a cutting garden! As the owner of A1 Landscape Construction in Temecula, California, I’m here to share my journey of starting and growing a charming cottage-style cutting garden. It’s been a labor of love, but the rewards are so worth it.
Choosing the Right Spot
The first step in creating your cutting garden is finding the perfect location. You’ll want an area that gets at least 6 hours of direct sunlight per day. Keep an eye out for any large trees or buildings that could cast shadows and limit your sunshine. My cutting garden is right next to my vegetable garden, where we get sunshine from dawn to dusk.
If you have limited outdoor space, don’t worry! Even a small raised bed can become a delightful micro-cutting garden. The key is to choose a spot that gives your flowers the best chance to thrive.
Soil Preparation
Once you’ve selected your cutting garden’s sunny spot, it’s time to focus on the soil. Healthy, nutrient-rich soil is crucial for your flowers to reach their full potential. I started my cutting garden by filling the raised beds with a blend of compost, bagged garden soil, and a touch of peat to keep things light and airy. I also incorporated an organic flower-specific fertilizer to give my blooms an extra boost.
Choosing Your Cutting Garden Favorites
Now comes the fun part – selecting the flowers you want to grow! I went a little seed-crazy when planning my cutting garden, and I’m so glad I did. I ended up with a beautiful array of zinnias, dahlias, snapdragons, celosia, and more.
When choosing your cutting garden flowers, look for a mix of heights, colors, and bloom times. This will ensure you have a steady supply of fresh-cut beauties throughout the season. Some of my personal favorites included:
- Zinnias: These vibrant, long-lasting blooms were the stars of my cutting garden. I grew everything from classic reds and oranges to the stunning ‘Queen Lime’ series.
- Dahlias: Oh, how I fell in love with these late-season showstoppers! Their massive, lush flowers were the perfect addition to my cottage-style bouquets.
- Snapdragons: These whimsical flowers add such a unique touch to any arrangement. I loved watching the buds open up and the array of colors they offered.
- Celosia: The fluffy, textured blooms of the celosia were a real conversation starter in my garden. They lasted for weeks in my bouquets.
- Strawflowers: I had never grown these before, but I’m so glad I did! The dried, papery petals were perfect for adding visual interest to my arrangements.
Preparing for Planting
Depending on where you live, you may need to start some of your cutting garden flowers indoors before transplanting them outside. I live in growing zone 5b/6a, so I had to get a head start on seeds like snapdragons, celosia, and sweet peas.
Starting seeds indoors can seem daunting, but I found it to be a fun and rewarding process. I followed the planting instructions on the seed packets and made sure to harden off the seedlings before transplanting them into the garden.
For flowers like zinnias and cosmos, I opted to direct sow them right into the cutting garden beds. These heat-loving annuals thrived when I planted them straight into the warm, sunny soil.
Building Cottage-Style Structures
To really capture that quintessential cottage garden look, I incorporated a few fun structures into my cutting garden design. First, I built a simple yet charming tower using a tomato cage and bamboo stakes. I trained a black-eyed Susan vine to climb all over it, creating a stunning focal point.
For my sweet peas, I constructed a custom trellis using bamboo stakes and twine. This gave the delicate vines something to cling to as they reached for the sky.
Finally, I transformed an old potting bench into a rustic, weathered display piece. This became the perfect spot to arrange my freshly cut bouquets before bringing them inside.
The Joys of Cutting Garden Abundance
As summer progressed, my cutting garden truly came into its own. I delighted in strolling through the beds, snipping stem after stem of vibrant, fragrant blooms. The zinnias, dahlias, and snapdragons just kept on producing, filling my home with beauty.
Cutting gardens are the gift that keeps on giving. Even as my perennial borders started to fade, my cutting patch remained a riot of color well into the fall. I cherished the opportunity to create stunning bouquets to enjoy myself and share with friends and family.
Lessons Learned for Next Season
While my cutting garden was an overwhelming success, I did encounter a few challenges along the way. The pesky voles in my area caused some major damage to my dahlia tubers, and I had to wrap my raised beds in chicken wire to prevent further destruction.
Next season, I’ll be sure to line the beds with hardware cloth from the start to deter those hungry underground critters. I also plan to direct sow my sweet peas and poppies instead of transplanting them, as they seemed to thrive better that way.
Overall, growing a cutting garden has been one of the most rewarding experiences of my gardening journey. The vibrant blooms, the sense of pride, and the pure joy of creating beautiful bouquets have made it all worthwhile. If you’re dreaming of your own cutting garden, I encourage you to take the plunge. The results are truly magical.
So, what are you waiting for? It’s time to get growing and bring that cottage-style cutting garden to life! If you have any questions, feel free to reach out to me at A1 Landscape Construction – I’m always happy to share my gardening knowledge and expertise.


