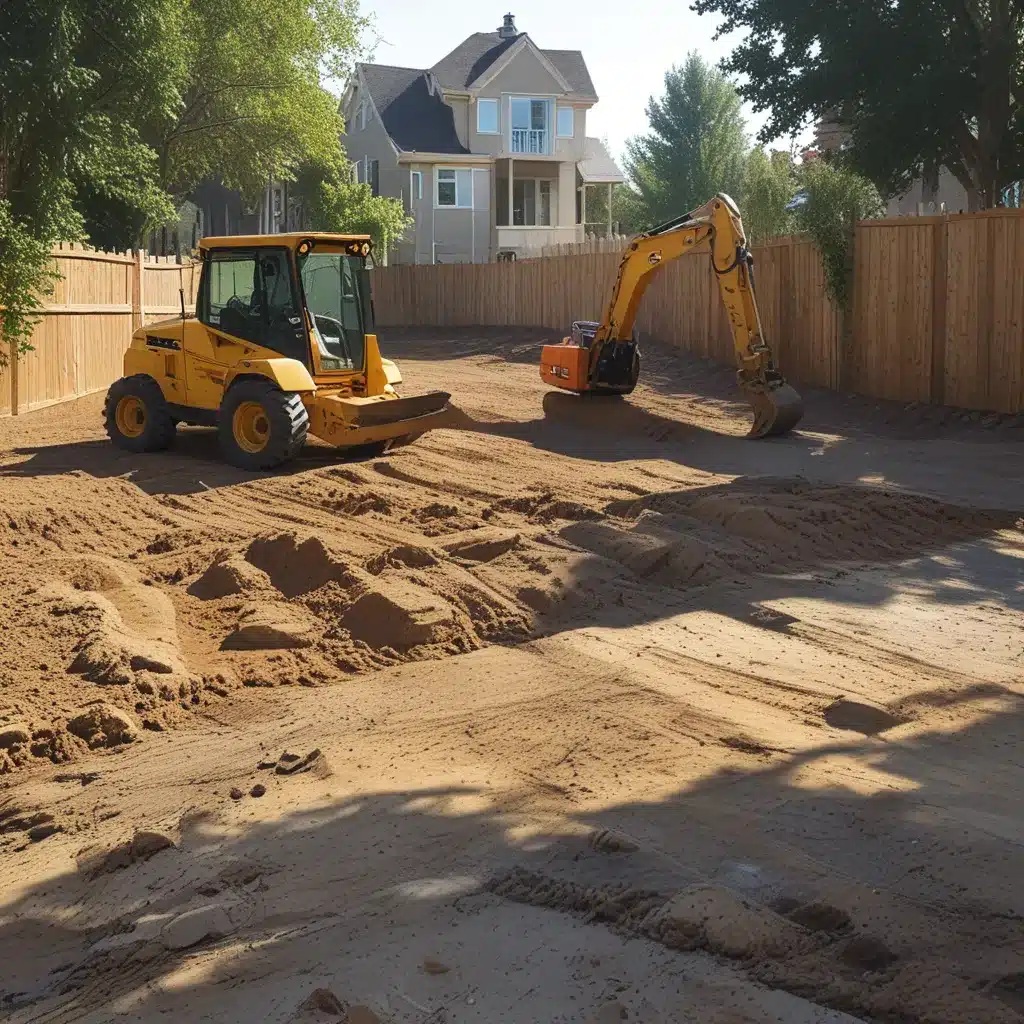
Grading and Excavation Basics for a Flat Useable Yard
Transforming Slopes into Lush Landscapes: A Homeowner’s Guide
As a homeowner in Temecula, California, I’ve had my fair share of experiences with uneven and sloped yards. In fact, when I first bought my house, the backyard resembled more of a mountain range than a welcoming outdoor oasis. Navigating that treacherous terrain was like hiking the Appalachian Trail – without the stunning views. But with a little determination and the right know-how, I was able to conquer those hills and create a flat, usable space that has become the envy of the neighborhood.
If you’re in a similar situation, don’t worry, I’ve got your back. In this comprehensive guide, I’ll walk you through the basics of grading and excavation, equipping you with the knowledge and confidence to transform your sloped yard into a flat, functional oasis. So, grab your work gloves and let’s get started on your landscape-leveling journey!
Understanding the Importance of Proper Grading
Proper grading is the backbone of a well-designed and functional yard. It’s the process of strategically shaping the land to ensure water drainage, prevent erosion, and create a usable outdoor space. According to the Federal Highway Administration, effective grading involves “moving earth to establish desired elevations, slopes, and drainage patterns.”
But why is this so crucial? Well, imagine your yard as a giant bowl – if the sides aren’t sloped correctly, water will simply pool in the center, creating a swampy mess that’s not only an eyesore but also a breeding ground for mosquitoes. And let’s not forget about the potential for water damage to your home’s foundation. On the flip side, a properly graded yard will direct water away from your home, keeping your basement dry and your foundation intact.
Assessing Your Yard’s Terrain
Before you start moving mountains (or molehills), it’s important to take a good, hard look at your yard’s existing terrain. According to HomeGuide, the cost of grading and leveling can vary widely, ranging from $500 to $5,000 or more, depending on the size, slope, and soil type of your property.
Start by identifying the high and low points in your yard. Use a string line level to establish a reference point, and then measure the elevation changes. This will give you a clear picture of the slopes and contours you’ll need to tackle. Don’t forget to also take note of any existing trees, boulders, or other obstacles that could complicate the grading process.
Developing a Grading Plan
With a solid understanding of your yard’s terrain, it’s time to develop a grading plan. This is where you’ll determine the ideal slope and drainage patterns to ensure water flows away from your home’s foundation. According to the Wisconsin Department of Revenue, the land around a house should be graded with a slope of at least 6 inches within the first 10 feet from the foundation to effectively drain water away.
Your grading plan should also take into account any local building codes or zoning regulations that may impact your project. Some municipalities require a detailed grading plan or even a permit before you can start moving dirt. It’s always better to check with your local authorities before breaking ground.
The Grading and Excavation Process
With your plan in hand, it’s time to put on your hard hat and get to work. The grading and excavation process typically involves the following steps:
- Clearing the Area: Remove any existing sod, plants, or other vegetation from the areas you’ll be regrading.
- Excavation: Use a shovel, backhoe, or other heavy equipment to dig and move dirt from the high points to the low points of your yard.
- Filling and Leveling: Spread the excavated dirt evenly to create a level surface or a gentler slope.
- Compaction: Tamp down the soil using a wood plank or metal tamper to ensure a stable, solid foundation.
- Topsoil Replacement: Spread a fresh layer of nutrient-rich topsoil over the graded area.
- Seeding or Sodding: Reseed or lay new sod to establish a lush, green lawn.
Remember, the key to a successful grading project is patience and attention to detail. Take your time, and don’t be afraid to enlist the help of a professional if you encounter any challenges along the way.
Maximizing Your Flat, Usable Yard
With your newly graded and leveled yard, the possibilities are endless! A1 Landscape Construction, a premier landscaping company in Temecula, can help you transform your flat, usable space into a true outdoor oasis. Whether you’re dreaming of a sprawling patio for al fresco dining, a serene garden sanctuary, or a play area for the kids, their team of experts can bring your vision to life.
So, what are you waiting for? Embrace the power of grading and excavation, and unlock the full potential of your Temecula property. With a little elbow grease and a lot of determination, you can create the flat, functional yard of your dreams. Happy landscaping!


