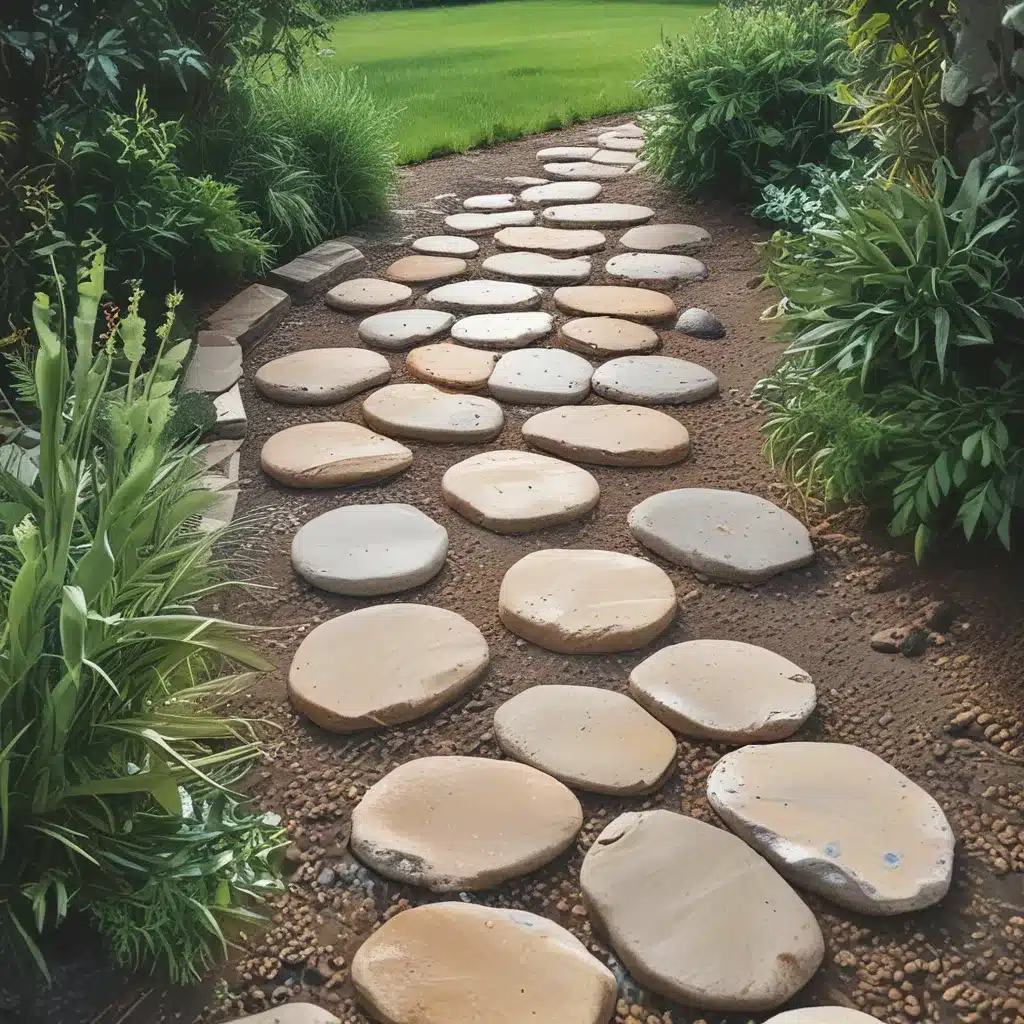
Building Your Own Stepping Stone Garden Path Doesn’t Have to Break the Bank
Ah, the backyard – that magical oasis of tranquility, where we can escape the hustle and bustle of daily life and lose ourselves in the beauty of nature. But let’s be honest, creating a lush, inviting garden path can be quite the financial undertaking. Or can it?
As a landscape designer and construction enthusiast, I’m thrilled to share with you my secrets for crafting a stunning DIY stepping stone path on a shoestring budget. Believe it or not, you can transform your outdoor space into a Zen-like retreat without emptying your wallet.
Mastering the Art of Affordable Path-Making
I’ll never forget the day I decided to tackle my own backyard path project. I had just moved into my new home, and the barren stretch of dirt leading to the garden was an eyesore. But with a toddler and a tight budget, the thought of investing in an expensive paved walkway made me cringe.
That’s when I stumbled upon a treasure trove of budget-friendly DIY path ideas. From repurposed materials to ingenious design hacks, the options were endless. And let me tell you, the results were nothing short of impressive.
Stepping Stones: The Backbone of Your Garden Path
As The Spruce points out, a stepping stone path is one of the most affordable options for a DIY garden path. Not only do the materials cost a fraction of traditional pavers or bricks, but the installation is a breeze, even for the most novice of DIYers.
The key is to choose the right stepping stones for your budget and desired aesthetic. Flagstone, concrete, or even reclaimed materials like old bricks or tiles can all work beautifully. The trick is to get creative and think outside the box.
Laying the Foundation: Preparing Your Path
Before you start laying those lovely stepping stones, it’s important to properly prepare the ground. As demonstrated in this helpful YouTube video, you’ll want to start by clearing the area and leveling the soil.
This doesn’t have to be a backbreaking task, though. A simple rake and a bit of elbow grease should do the trick. If you have any uneven or sloping areas, consider using a layer of gravel or crushed stone to create a stable foundation.
Choosing the Right Stepping Stones
Now comes the fun part – selecting your stepping stones! As I mentioned, the options are endless, but here are a few of my personal favorites:
-
Flagstone: Rugged, natural, and oh-so-charming, flagstone is a classic choice for a DIY garden path. Depending on the size and quality, you can find flagstone for as little as $1-3 per square foot.
-
Concrete: For a more modern look, consider pouring your own concrete stepping stones. This requires a bit more work, but the end result is a sleek, durable path that can withstand heavy foot traffic.
-
Reclaimed Materials: Scour your local salvage yards or construction sites for discarded materials like old bricks, tiles, or even broken concrete slabs. With a little cleaning and creativity, you can transform these cast-offs into one-of-a-kind stepping stones.
-
Pebbles and Gravel: If you’re looking for a more natural, meandering path, consider filling the gaps between your stepping stones with pebbles or gravel. As The Spruce suggests, pea gravel is an affordable option at $1-3 per square foot.
Remember, the beauty of a DIY stepping stone path is that you can mix and match materials to create a truly unique and personalized design. Don’t be afraid to get creative and have some fun with it!
Laying the Stepping Stones
Once you’ve gathered your materials, the actual installation process is surprisingly straightforward. This helpful video walks you through the step-by-step process, but here’s a quick overview:
-
Mark the Path: Use string, spray paint, or even a garden hose to map out the desired shape and layout of your path.
-
Prepare the Ground: Dig out a shallow trench, about 2-3 inches deep, along the marked path. This will create a stable base for your stepping stones.
-
Lay the Stones: Carefully place your stepping stones, spacing them about 12-18 inches apart. Make sure to level each one as you go to prevent tripping hazards.
-
Fill the Gaps: If using pebbles or gravel, fill the spaces between the stones to create a seamless, cohesive look.
-
Add Finishing Touches: Consider adding edging, such as wood or metal, to keep your path in place and prevent the gravel from spilling out.
And there you have it! With a little elbow grease and some creative thinking, you can transform your backyard into a stunning oasis without breaking the bank. Just imagine the joy of strolling through your very own DIY stepping stone path, admiring the results of your hard work.
Bringing it all Together: The Final Result
Now, I know what you’re thinking – “But Tessa, won’t this whole DIY stepping stone path thing take forever?” Well, my friend, I’m here to tell you that with the right plan and a little determination, you can have a beautiful, budget-friendly garden path in no time.
In fact, I recently tackled a similar project in my own backyard, and the transformation was nothing short of remarkable. A1 Landscape Construction, the renowned landscape design and construction company in Temecula, California, even featured my DIY stepping stone path on their website. Talk about a proud moment!
So, what are you waiting for? Grab your gardening gloves, put on your creative thinking cap, and let’s get to work on transforming your outdoor oasis. Trust me, the end result will be well worth the effort – and your wallet will thank you too.


